
How to preserve your clay piece
- Jana Frost
- Jul 6, 2023
- 3 min read

Updated: Jan 22, 2025

A Complete Guide for Air-Dry Clay Creations
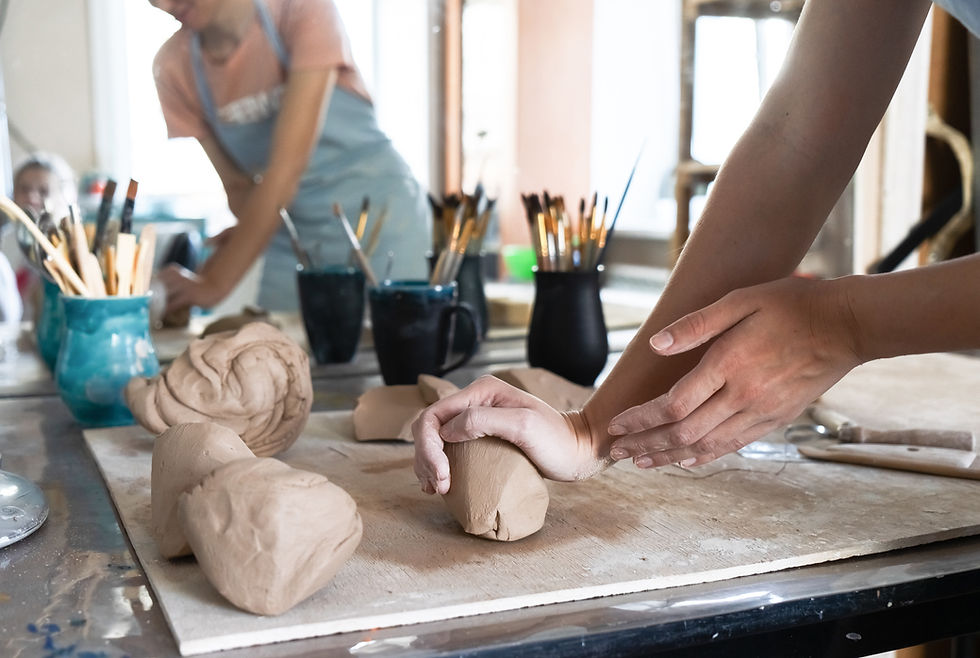
Air-dry clay projects are a rewarding and creative outlet, but preserving your finished pieces is just as important as crafting them. Unlike traditional pottery that’s fired in a kiln, air-dry clay pieces need proper handling, sealing, and care to ensure they last and look their best over time. If you’ve poured your heart into making a beautiful clay creation, here’s everything you need to know about preserving it for the long run.
Why Preservation Matters for Air-Dry Clay
Air-dry clay hardens naturally, making it an ideal material for beginners or those without access to a kiln. However, once dry, it remains porous and vulnerable to damage from moisture, cracks, or wear. Proper preservation not only enhances the look of your clay pieces but also makes them durable and resistant to the elements.
How to Seal Air-Dry Clay for Durability
1. Let Your Piece Fully Dry
The first and most crucial step is allowing your clay piece to dry completely before applying any sealant or paint. This prevents trapped moisture, which can lead to cracks or mold.
How to Do It Right:
Leave your clay piece to air dry in a cool, dry place.
Avoid direct sunlight, as it may cause uneven drying or cracking.
Ensure pieces with thicker sections or intricate shapes dry for 2-4 days.
2. Sand Your Piece (Optional)
Once your piece is dry, you may notice small imperfections or rough edges. Sanding is a great way to smooth these out and prepare the surface for painting or sealing.
What You’ll Need:
Fine-grit sandpaper (preferably 120-180 grit).
Gently sand until you’re happy with the texture and finish.
3. Paint Your Clay Piece
Adding color to your air-dry clay creation is a fun way to make it pop. Choose the right type of paint for best results.
Recommended Paints:
Acrylic paint: Highly durable, quick-drying, and comes in various finishes.
Tempera paint: Ideal for vibrant colors but needs sealing afterward.
Watercolors: Provide a soft, artistic look but require multiple layers of sealant to avoid fading.
Pro Tip: Always test your paint on a small area first to ensure it adheres well to the clay surface.
4. Seal Your Clay Creation
Sealing your clay piece is the most important step in preserving it. A good sealant will make your creation water-resistant, protect it from dust, and increase its longevity.
Best Sealants for Air-Dry Clay:
Acrylic Varnish: Provides a glossy or matte finish, easy to apply, and highly protective.
Mod Podge: Great for beginners, offering a glossy coat and protection from light wear.
Spray Sealants: Convenient for covering large areas, but ensure you use them in a well-ventilated area.
How to Apply:
Make sure your painted piece is completely dry.
Apply a thin, even layer of sealant with a brush or spray.
Let the first coat dry before adding another layer for enhanced protection.
Preventing Common Problems
1. Keep Your Pieces Away from Water
Even with a sealant, air-dry clay is not completely waterproof. Always keep your creations away from water or heavy moisture to prevent softening or damage.
2. Store Pieces Safely
Place fragile pieces in a safe area away from high traffic or accidental bumps. Display them on shelves or enclosed cabinets for long-term preservation.
3. Repair Cracks Early
If you notice cracks or chips forming, repair them immediately with fresh air-dry clay or a touch of craft glue. Seal and repaint the repaired section as needed.
Enhancing the Look of Your Finished Creations
1. Add a Topcoat for Shine
If you want a polished look, use a finishing topcoat after sealing. Products like polyurethane sprays or high-gloss Mod Podge can elevate the aesthetic of your clay pieces.
2. Use Metallic or Pearl Finishes
To make your pieces stand out, experiment with metallic paints or mica powders to give them a luxurious feel.
3. Embellish with Textures or Patterns
Add layers of design by carving patterns before drying or using texture stamps for added flair.
Creating Keepsakes That Last a Lifetime
Preserving your air-dry clay creations takes a bit of patience and attention to detail, but the results are well worth it. Whether you’re crafting decorative homeware, personal keepsakes, or functional items, sealing and caring for your clay pieces can help them last for years to come.


Comments